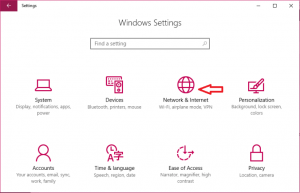
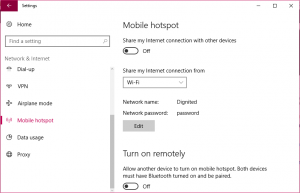
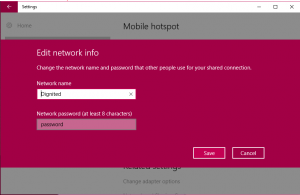
Initiate the PC Settings by pressing Windows+I on your keyboard, and then click Network & Internet. On the left-hand side, click Mobile hotspot. On the right-hand side, turn on the Share my Internet connection with other devices switch and choose the Internet connection you want to share.
To connect on the other device, go to the Wi-Fi settings on that device, find your network name, select it, enter the password, and then connect.
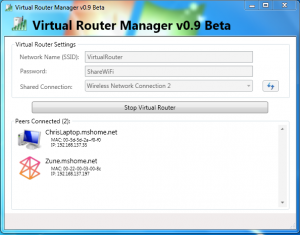
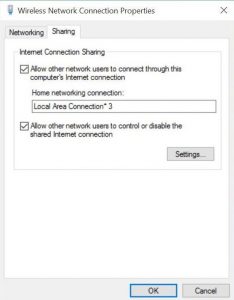
Next, you have to select the connection you want to share from the drop-down link. You will choose this depending on how you’re connected. If you’re connected over Ethernet, choose the Ethernet connection. If you’re connected to the Internet over Wi-Fi, select your Wi-Fi device. Click Start Virtual Router. You have to make sure the connection sharing preferences are enabled. If you have any issues, it means these could be disabled. So, to enable the preferences, you have to find the connection you want to share, be it Ethernet or Wi-Fi, and choose its Properties. Look out for the Sharing tab and make sure the box Allow other network users to connect through this computer’s Internet connection is checked.
Connecting from another device
With proper configuration, you can then connect to your laptop’s new WiFi hotspot. Just select the network name, and enter in the password. The Virtual Router app will show you any other computers connecting through it when it’s in use. It’ll show the IP address of the device and its MAC address. If you wish to stop sharing Internet, you can click on the Stop Virtual Router tab.
