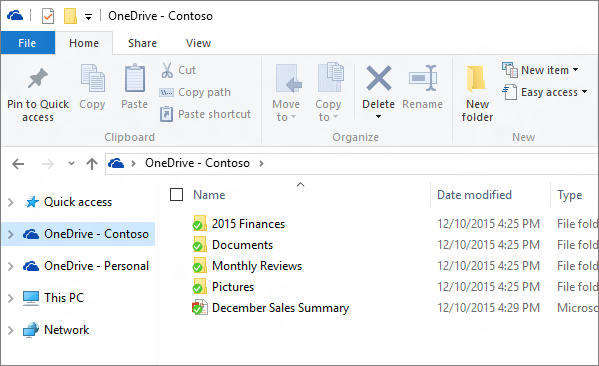
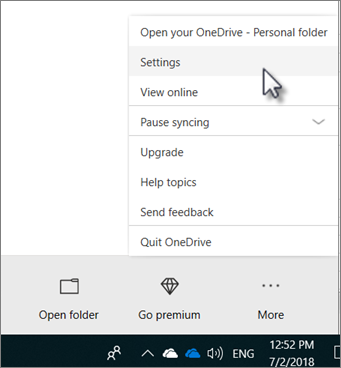
Check out: How to Get More Free Space on Dropbox, Google Drive and One Drive To sync your computer to OneDrive, you just have to follow some little steps and that’s all. This can be done in the Windows File Explorer for a Windows 10 computer. All you have to do is locate OneDrive folder then right click on it and tap on ‘Settings’. On other computers or older Windows versions, you would have to have OneDrive sync client. You then go to the bottom right corner (notification area) and click on the cloud icons that is blue or white in colour. If you can’t find it there, click on the arrow up icon to reveal the hidden icons. You then click on ‘More‘ and then ‘Settings‘, a window will open revealing a series of tabs. From there you can sync that particular PC with OneDrive or on the other hand make files as well as folders on your OneDrive available on that PC too.
Syncing the files on your computer to OneDrive
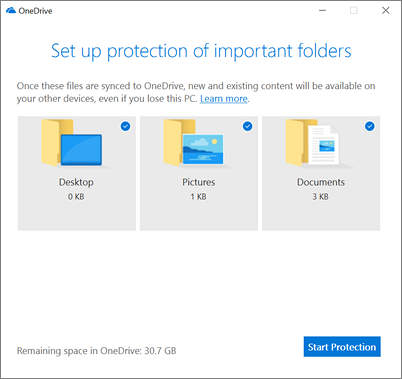
Find your way to the ‘Autosave‘ tab in the ‘Settings’ window and click on ‘Update folders’. This will open a dialogue box to ‘Set up protection of important folders‘. Select the folders you want to sync/protect and click on ‘Start protecting‘. Read More: Price comparison between top backup and cloud sync services
Syncing the files on Onedrive to your computer
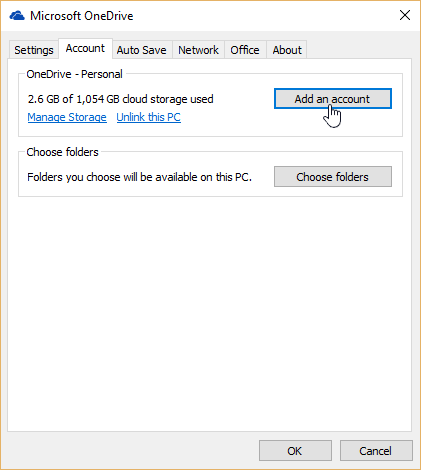
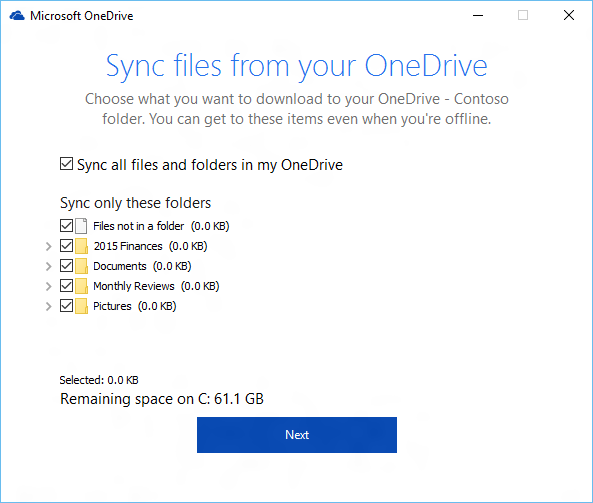
Also, among the tabs on the ‘Settings’ window, you will find ‘Account‘ which you will click on. After this, you pick ‘Choose folder‘ and then ‘Sync your OneDrive files to this PC‘. You can pick the option of making all your files on OneDrive becomes available on that computer or handpick the folders yourself and then select ‘Next‘. Folders that you check out are removed from your system but are still available on OneDrive. This articles covers a two sides to a coin approach. Meaning you could either sync folder on your computer to OneDrive or folders already on your OneDrive synced to your computer.
